Introduction
Modern computers are intricate systems that rely on the seamless interaction of various components. When everything functions as expected, you’re greeted with a functional display and the ability to complete tasks efficiently. However, encountering an issue like a CPU white light on the motherboard with no display can be frustrating and perplexing. In this guide, we’ll take you through a step-by-step troubleshooting process to help you diagnose and resolve this problem, getting your system back up and running smoothly.
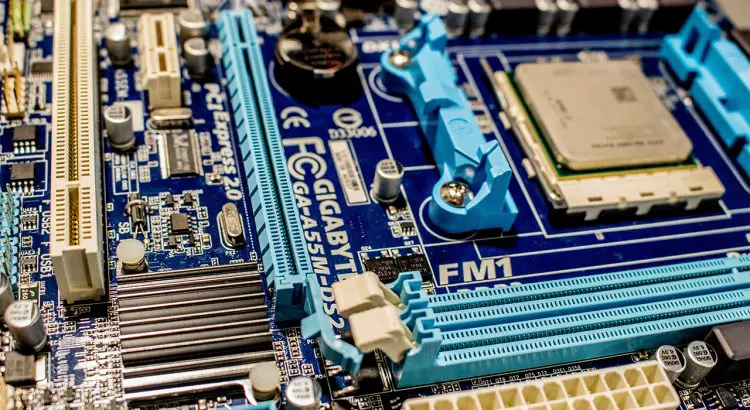
How to fix the CPU white light on the motherboard, no display
1.Understanding the Components Involved
2.Possible Causes of CPU White Light on Motherboard with No Display
3.Step-by-Step Troubleshooting Guide
4.Advanced Troubleshooting Steps
5.When to Seek Professional Help
1. Understanding the Components Involved
Explaining the Role of CPU and Motherboard: Understand the central processing unit (CPU) and motherboard’s significance in the computer system’s functionality.
Introduction to Diagnostic LEDs: Familiarize yourself with diagnostic LEDs on motherboards, which provide insights into potential hardware issues.
2. Possible Causes of CPU White Light on Motherboard with No Display
Overheating Issues: Learn how excessive heat can impact system performance and cause the CPU white light to appear.
Faulty or Incompatible Hardware: Understand how incompatible or malfunctioning components can lead to the problem.
Improper Connections: Discover how improperly seated components or loose connections affect display output.
Power Supply Problems: Explore how power supply issues can contribute to the CPU white light problem.
BIOS and Firmware-Related Issues: Understand the role of BIOS and firmware in system initialization and potential conflicts.
3.Step-by-Step Troubleshooting Guide
Step 1: Check Connections
Ensure Proper Seating: Verify that critical components such as RAM modules, graphics cards, and power cables are securely and correctly seated.
Monitor-Monitor Connections: Check connections between your monitor and the graphics output.
Step 2: Monitor System Indicators
Understanding Diagnostic LEDs: Decode the significance of the CPU white light and other diagnostic LEDs on your motherboard.
Referencing the Manual: Cross-reference the LED patterns with the motherboard manual for precise information.
Step 3: Inspect Hardware
Re-seat Components: Remove and carefully reseat RAM modules, graphics cards, and peripherals to ensure a reliable connection.
Test Minimal Configuration: Troubleshoot by testing the system with only essential hardware components to identify potential faulty elements.
Step 4: Monitor Temperatures
Preventing Overheating: Understand how excessive CPU temperatures can lead to instability and follow guidelines for temperature monitoring.
Hardware Monitoring Tools: Learn about software tools that help you track temperature and maintain optimal performance.
Step 5: Power Supply
Check Connections: Inspect power supply connections to ensure proper contact and eliminate potential power-related issues.
Alternate Power Supply: If available, test the system with an alternate power supply to rule out power-related problems.
Step 6: BIOS and Firmware Updates
Updating BIOS and Firmware: Follow instructions to update motherboard BIOS and firmware to their latest versions.
Manufacturer’s Guidance: Consult the motherboard manufacturer’s website for specific update instructions and potential issue resolutions.
4.Advanced Troubleshooting Steps
Step 1: Clear CMOS
Clearing CMOS: Reset motherboard settings to default by clearing the CMOS, potentially resolving configuration-related problems.
Consult the Manual: Follow the motherboard manual for the correct CMOS clearing procedure.
Step 2: Test Outside the Case
Eliminating Grounding Issues: Assemble essential components outside the case to eliminate the possibility of grounding problems affecting the system.
Step 3: Test with Spare Parts
Pinpointing Faulty Hardware: If possible, test your system with known working components to identify and isolate faulty hardware.
5. When to Seek Professional Help
Recognizing Complexity: Understand when the issue may require professional diagnosis and repair due to its complexity or severity.
Conclusion
Recap of Troubleshooting Steps: Summarize the systematic approach outlined in the article for diagnosing and resolving the CPU white light issue.
Emphasize Systematic Approach: Stress the importance of a methodical approach to troubleshooting and resolving hardware-related problems.
Seek Community Support: Encourage readers to share their experiences, seek advice from knowledgeable communities, and carefully approach troubleshooting.
FAQs
FAQ 1: What does it mean when there is a CPU white light on the motherboard and no display on the monitor?
Answer: The presence of a CPU white light on the motherboard indicates that there might be an issue with the CPU or its connection. It suggests that the CPU is not functioning as expected, which can result in no display on the monitor.
FAQ 2: How can I determine if the CPU is overheating and causing the white light issue?
Answer: Excessive CPU temperatures can lead to instability and trigger the white light issue. To monitor temperatures, you can use software tools like HWMonitor or Core Temp. If the CPU temperature is consistently high, consider checking the case’s CPU cooler, thermal paste application, and airflow.
FAQ 3: I’ve checked connections and hardware, but the issue persists. What should I do next?
Answer: If basic troubleshooting steps haven’t resolved the issue, consider updating the motherboard BIOS and firmware. Outdated firmware can lead to compatibility problems. Also, try testing the system with minimal hardware outside the case to eliminate grounding issues.
FAQ 4: What if the CPU white light indicates a power supply problem?
Answer: A power supply problem could be causing the white light issue. Check all power supply connections and consider testing with an alternate power supply if available. Make sure the power supply is supplying adequate power to all components.
FAQ 5: How do I clear CMOS, and when should I do it?
Answer: Clearing CMOS resets motherboard settings to default. This can help resolve configuration-related problems. Refer to your motherboard manual for the proper CMOS clearing procedure. Perform this step if you suspect issues related to BIOS settings.
FAQ 6: Can faulty RAM or a defective graphics card cause the white light issue?
Answer: Yes, both faulty RAM and a defective graphics card can contribute to the white light issue. Make sure to reseat RAM modules and the graphics card. Testing with known working components can help determine if these parts are causing the problem.
FAQ 7: When should I consider seeking professional help for this issue?
Answer: If you have followed the troubleshooting steps outlined in the guide and the issue persists, or if you’re uncomfortable performing advanced troubleshooting, it’s advisable to seek professional help. Additionally, if you suspect hardware damage or if the issue seems complex, professional diagnosis and repair may be necessary.
FAQ 8: Are there any online communities or forums where I can get further assistance with troubleshooting?
Answer: Yes, there are several online communities and forums dedicated to computer hardware troubleshooting. Websites like Tom’s Hardware, Reddit’s r/techsupport, and various manufacturer forums can provide valuable insights and assistance from experienced users.
FAQ 9: Is it safe to update BIOS and firmware? What precautions should I take?
Answer: Updating BIOS and firmware is generally safe, but it should be done cautiously. Follow the manufacturer’s instructions closely and ensure your system has stable power during the update process. Avoid interrupting the update, as a failed update can lead to further problems.
FAQ 10: How can I prevent similar issues in the future?
Answer: Regular maintenance, proper cable management, and ensuring compatibility when adding new hardware can help prevent similar issues. Keeping your system clean from dust and maintaining optimal airflow can also contribute to overall system stability.
Remember that troubleshooting hardware issues can sometimes require patience and persistence. If you’re unsure or uncomfortable, it’s always a good idea to seek professional assistance.